Create a Shortcut to retrieve information about today’s meetings

This guide provides a detailed walkthrough on creating an Apple Shortcut to record all your meetings in a note. While I use Obsidian for note-taking, this method can easily be adapted for Apple Notes or any other application you choose – even for sending the list via message.

My configuration includes:
– Fantastical (free version) for managing meetings
– Obsidian for note-taking

For those looking for an immediate solution, you’re welcome to use the link below to access my shortcut directly.
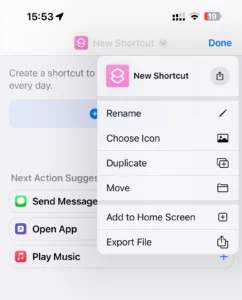
1. Begin by creating a new Shortcut (select a name and choose an icon).
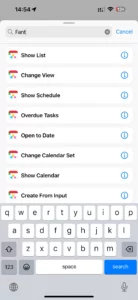
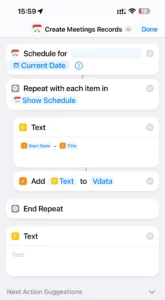
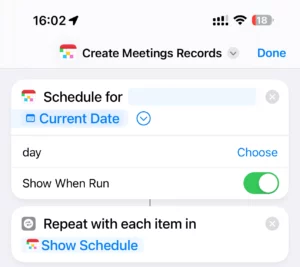
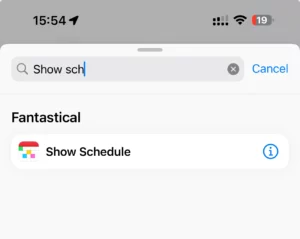
2. Tap [+] Add Action and search for "Show Schedule."
Important: My setup involves Fantastical, where I've listed the available actions. If you're using a different application, look for a comparable action. The default Apple Calendar app includes this functionality.
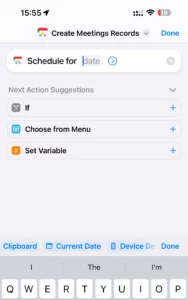
3. Insert the "Current Date" variable, which can be found in the list above your keyboard.
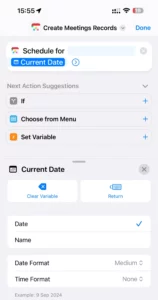
4. Click on the variable to select the required data format. I use "Medium" for date and "None" for time
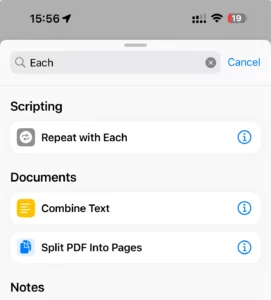
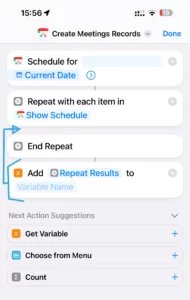
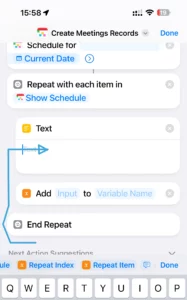
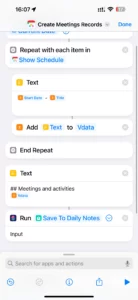
5. Now, add the "Repeat with Each" action to work with loops. "Schedule for" generates a list.
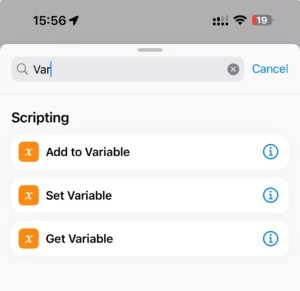
6. Next, incorporate the "Add to Variable" action.
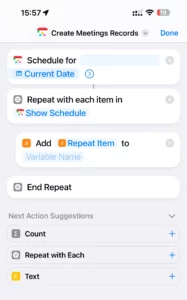
7. Observe the loop setup. All actions placed between "Repeat" and "End Repeat" will execute for each item in the generated list.
8. To include the "Add to Variable" action within the loop, tap and drag it into position.
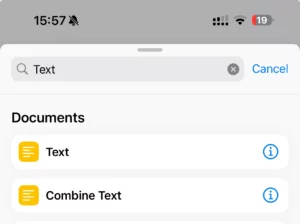
9. Within the loop, also add a "Text" action. This will allow us to format the text and compile all required items into a single line.
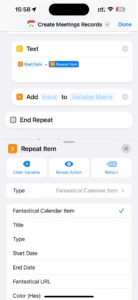
10. Add the Repeat Item variable to the Text action. This variable holds all data fields returned from the calendar, allowing you to select which ones to use.
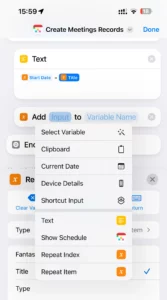
11. For the text, we will adopt a straightforward format that includes the time and name of the meeting
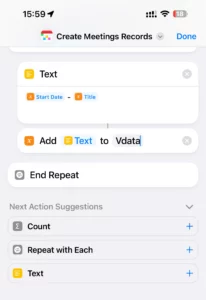
12. To assign the resulting text to a variable, select "Text" from the dropdown menu.
13. You can select any name for the variable, though I prefer starting mine with the letter "V."
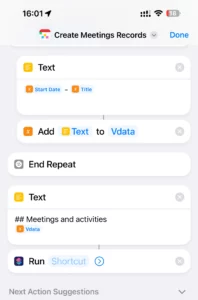
14. Add another "Text" action to compile the final output.
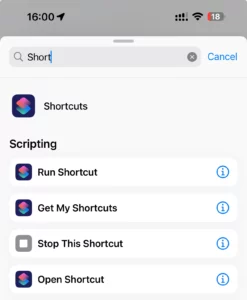
15. Create the Run Shortcut action
16. Update the "Text" action by incorporating the variable and adding a title.
17. Now, let's use the Shortcut we created previously to save our note to a file.
18. For the final adjustments to the action, disable the "Show When Run" option to enable running the Shortcut in the background.
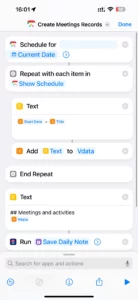
19. Done! Here is the final result of the Shortcut

Based on this example, I’m confident you can craft various impactful shortcuts to enhance your daily preparation, save time, and maintain focus on what’s important.

This is the second piece in a series on utilizing the Shortcuts App. Keep an eye out for the next article, “Establish an automation to execute these Shortcuts daily,” where I’ll delve into setting up your actions to run automatically according to a schedule.